

How To Open Your Pool
It’s time to think about opening your pool and, to help you with the process, we’ve put together a checklist to help you do it yourself!
If you’re a new pool owner, we recommend reaching out to a professional to assist you with the opening process for your first year — but if you’re ready to tackle the job yourself, keep reading to find out how!
Tools you’ll need:
- Submersible pump
- Leaf rake
- Pool cover storage container
- Garden hose
- Pool opening kit
- Pool skimmer
- Silicone lubricant
Step 1: Remove The Cover
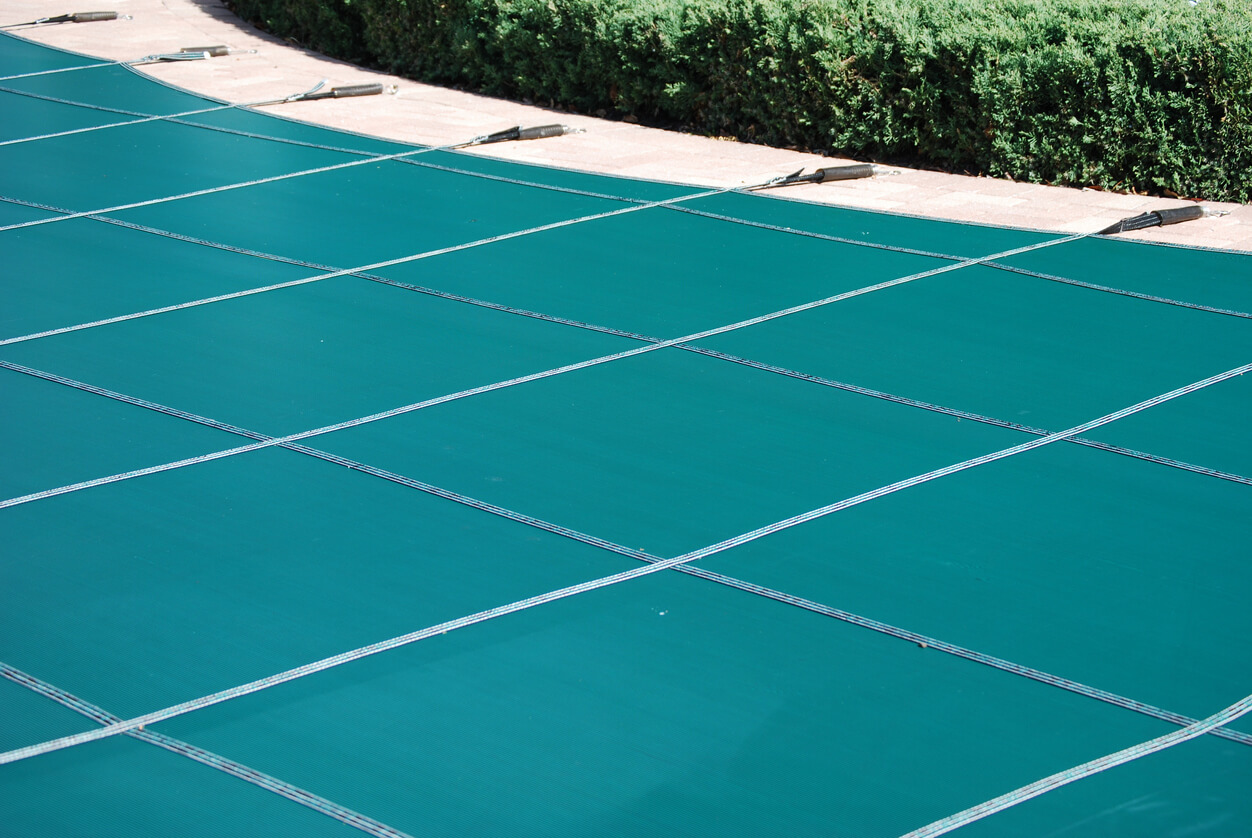
If your pool has a solid cover, start here:
Drain water from the top of the cover with a submersible pump and carefully and gently rake any leaves and debris away. The more water and debris that is removed from the top, the easier it will be to remove the cover.
If your cover has water bags, start by determining the area that you will begin removing the cover. Remove the water bags from the opposite side and work towards the area where you will remove the cover, leaving the bags in place until you have had a chance to remove any last water and debris. Once you’ve removed the debris, you can remove the cover completely.
If your pool has a soft cover, start here:
Remove the cover from your pool, letting as little dirty water and debris slip into the pool water as possible.
If your pool has a safety cover, start here:
Start by removing any water and debris, and then unhook the cover at the connections and remove it from the pool.
Pro Tip: Fill your pool by placing your garden hose under the cover to help raise the level of the cover and make debris removal easier.
Step 2: Clean your cover
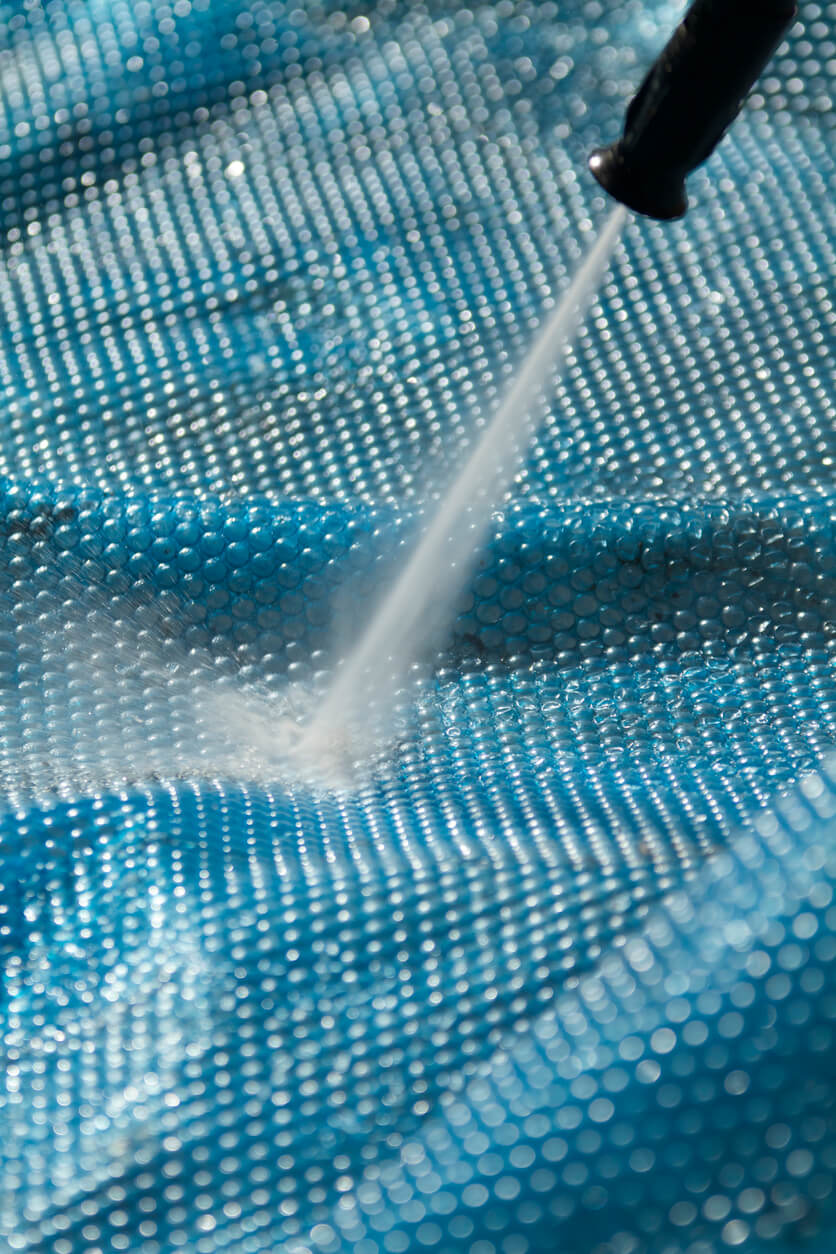
Cleaning your cover is an important step to ensure that it lasts as long as possible, and isn’t ruined by mould, mildew, insects, or rodents while it is stored away. Once it has been removed from the pool, lay it flat and clean it with Dazzle™ Cover Cleanse. Follow the instructions on the bottle to clean both sides of the cover with a soft pool brush.
Store your cover in a safe and secure place. We recommend rolling up your cover and storing it in a large, sealed, plastic container.
If you have water bags, drain them, and then clean and store them using the same method as your cover.
Step 3: Put your pool back together
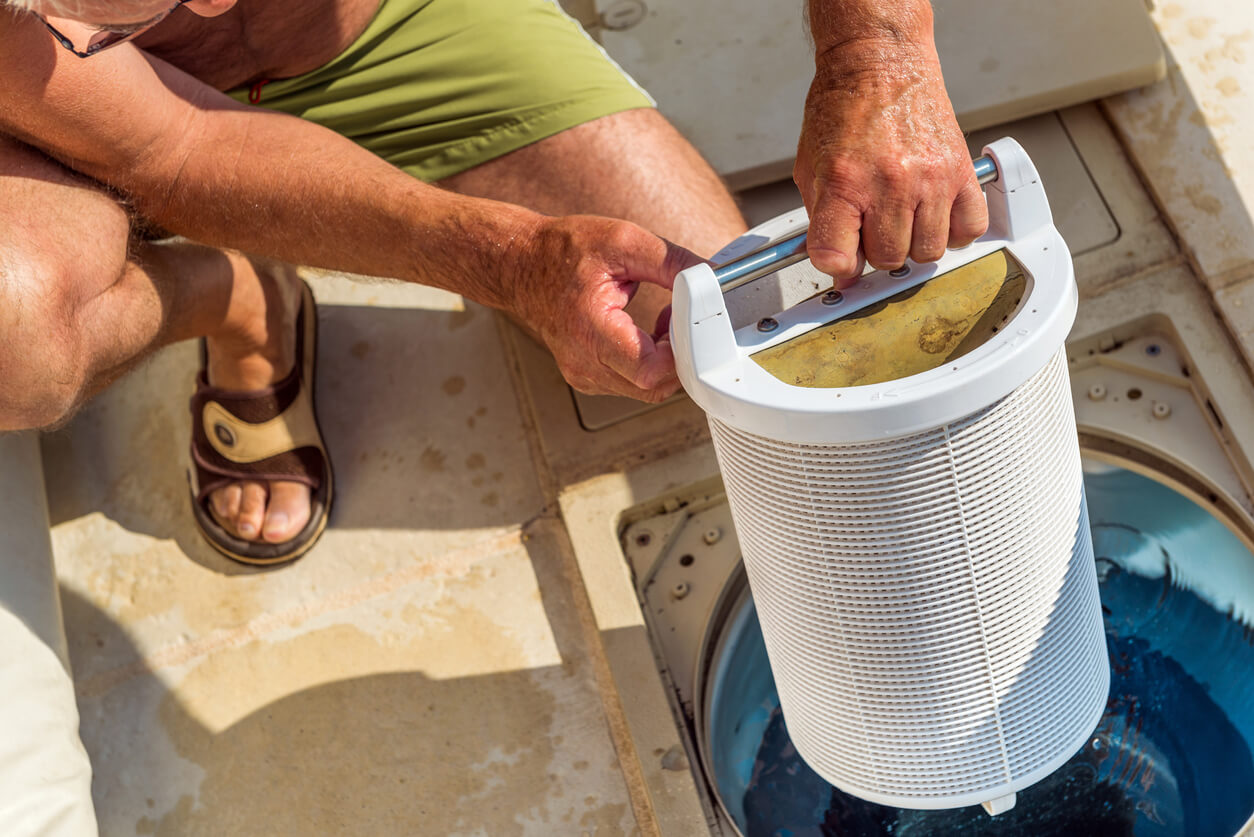
For this step, make sure to inspect for broken parts, and make a list of anything that is damaged and needs to be repaired or replaced.
If you closed your pool using Dazzle Premium Antifreeze, you don’t need to worry as it is non-toxic and will break down once it gets into the pool water. If you didn’t use this type of antifreeze, you’ll want to try and remove as much of it as possible using a shop vac, and then dispose of it safely.
Once your cover has been removed and stored away, remove any winterizing devices from your pool skimmer.
Next:
- Reconnect the pump and return lines, and tighten any clamps or unions.
- Reinstall the skimmer basket and flapper door.
- Remove any plugs from the return lines and reinstall them to the jets. Be sure not to overtighten the returns, and ensure that the jet’s directional eyeball is positioned downward at a 45° angle.
- Remove drain plugs and allow the Dazzle Premium Antifreeze to drain.
- Lubricate plugs, o-rings, and the pump strainer basket lid with silicone lubricant to ensure a proper seal. Do not lubricate the plugs or o-rings on your chlorinator/brominator.
- Replace the pressure gauge and site glass on the filter. Reconnect the backwash line.
- Reconnect your chlorinator/brominator and tighten the connections. If you have a salt pool, reattach your chlorinator cell, but do not turn it on at the control panel until your pool water has warmed to 20°C and your salt is at the correct level.
Do one final check to make sure that all of your equipment and lines are connected properly and working.
Next, reattach any deck equipment like ladders, handrails, and diving boards, and reconnect any grounding wires or straps that should be attached to metal parts.
Pro Tip: Lubricate the bolts on your deck equipment. It will help to prevent rust over the summer and help make pool closing easier.
Step 4: Prime your pump
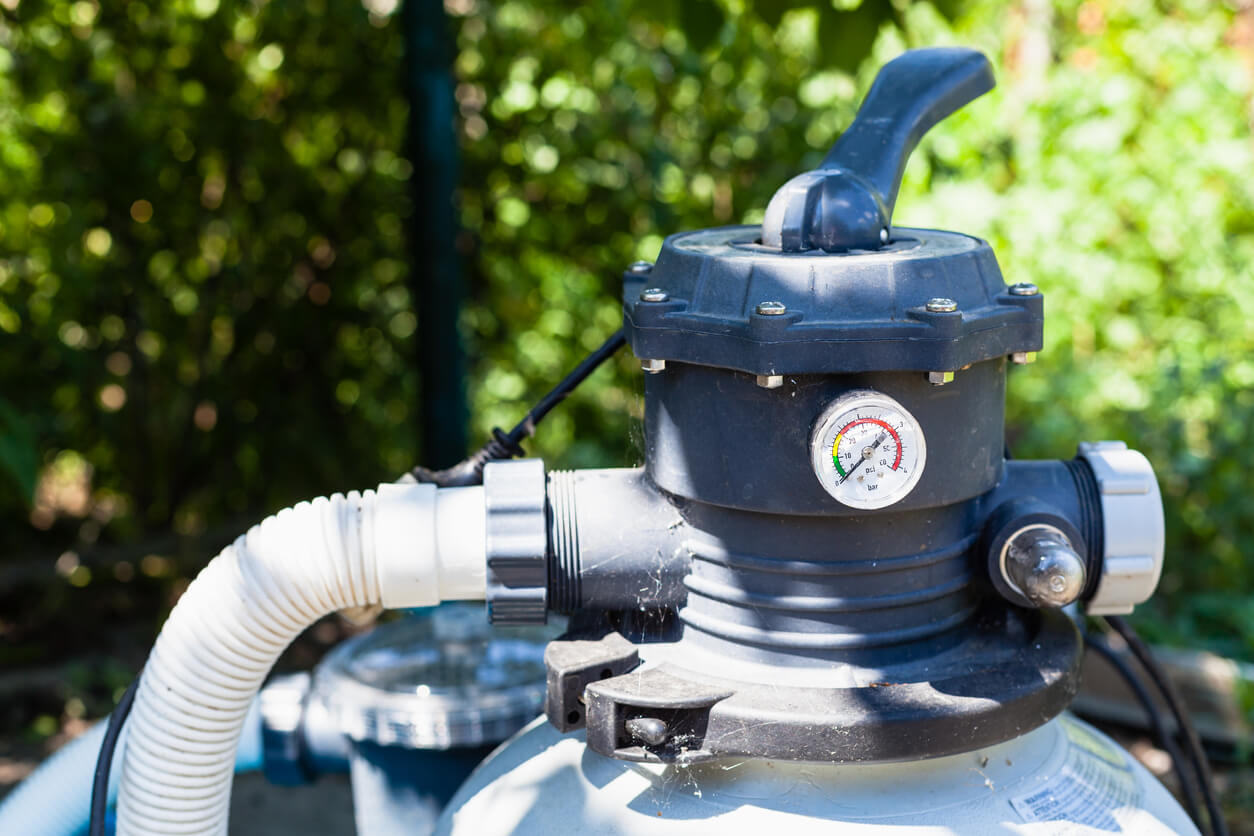
The next step will be to prime your pump with water. To do this:
- Turn on the power to your pool. If you have a sand filter, put the dial valve into the ‘Drain/Waste’ position.
- Start your pump and check your lines and connections for leaks or drips.
- After a few minutes, turn off your pump and turn the dial valve to the ‘Rinse’ position.
- Again, after a few minutes, repeat the previous step and turn it to the ‘Backwash’ position.
- Finally, turn the pump off and turn the dial to the ‘Filter’ position.
- If you didn’t clean your filter when you closed your pool, we recommend that you clean it now with Dazzle™ Rapid Action Filter Cleanse
Step 5: Clean your pool
This is the final step to enjoying your pool for the season!
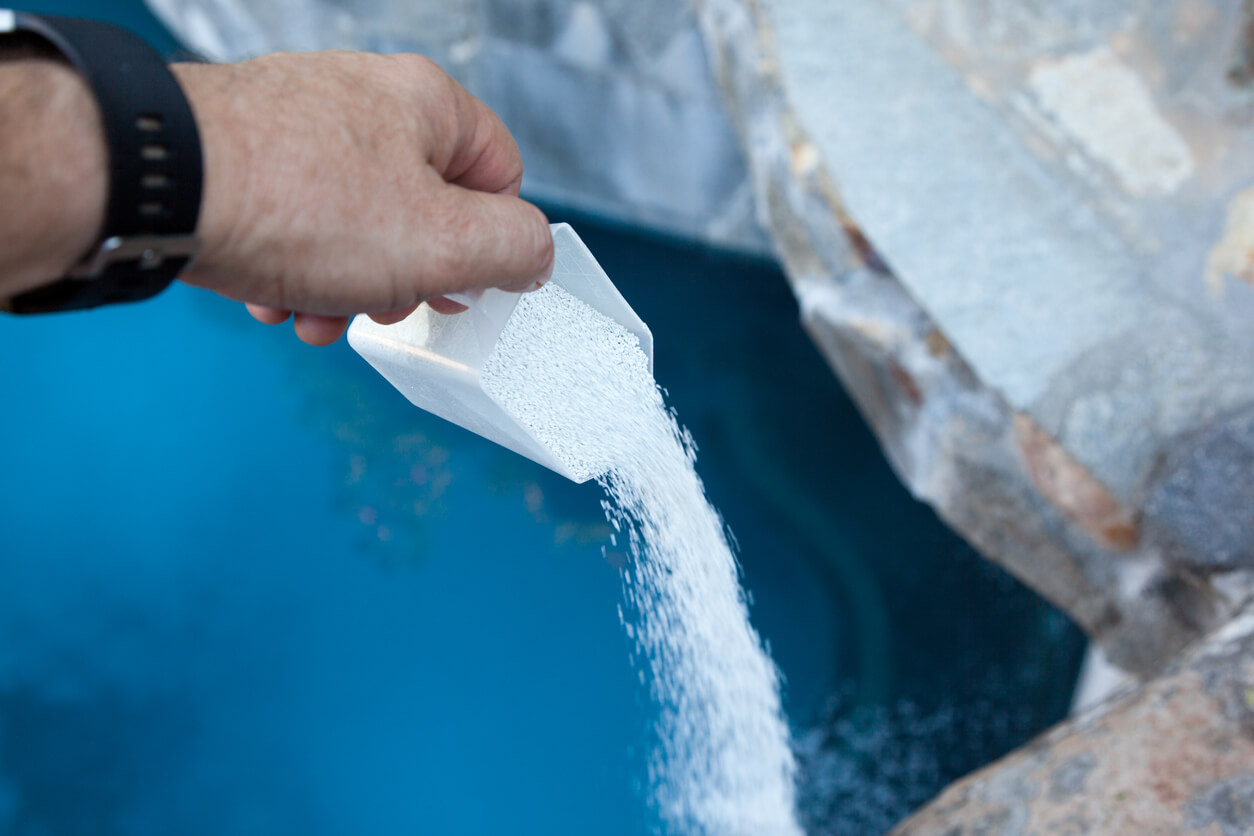
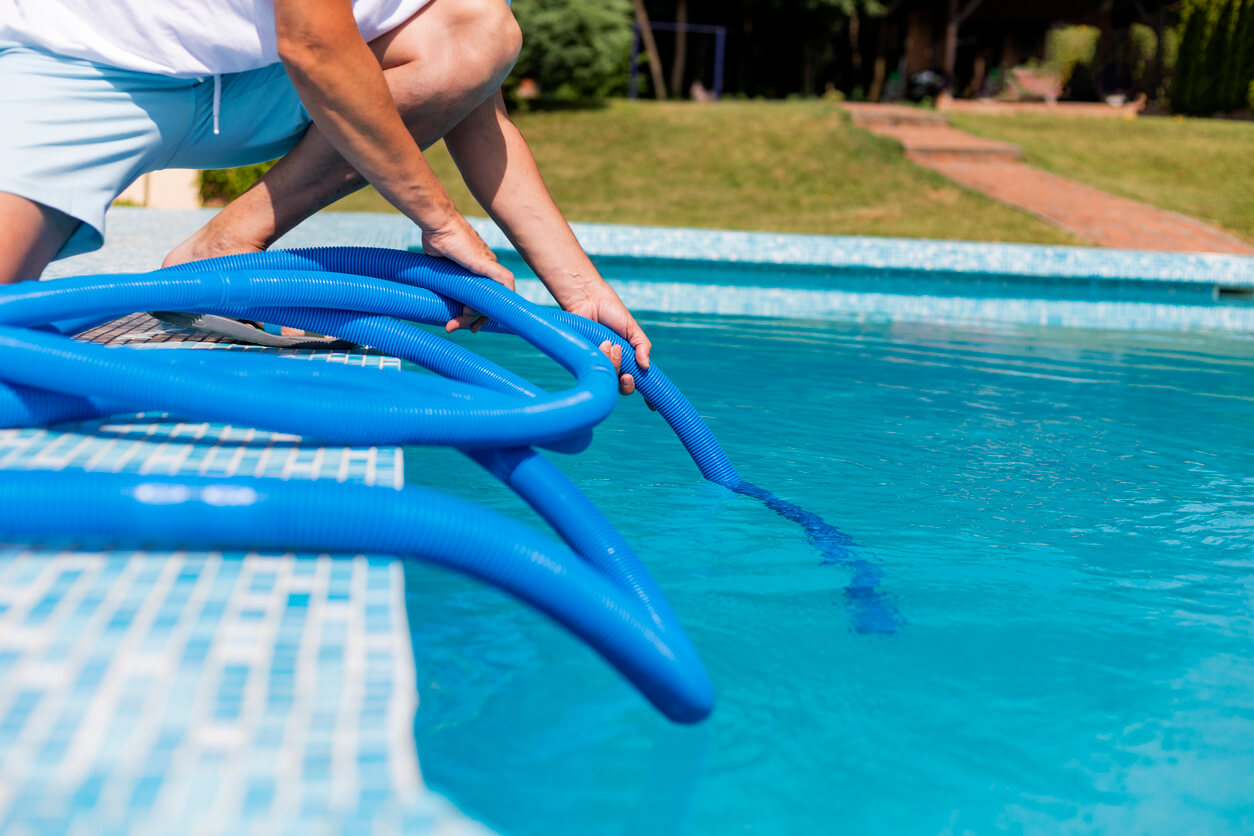
Now that your pump has been primed and the filter has been cleaned, you can vacuum and brush your pool. Once this has been completed, follow the instructions below to prepare your water using the Dazzle Opening Kit:
- Prevent stains and scale by applying Dazzle™ Stain & Scale Cleanse directly into your pool by pouring it around the edges, brushing your pool immediately after.
- Remove organic waste with Dazzle™ Amaze Plus (1 pouch per 40,000 litres) or Dazzle™ Ultra Shock. If your pump is running, apply it slowly into the clean skimmer. If your pump is not running, sprinkle it across the deep end and brush your pool to help dissolve and mix it.
- Next, deep clean your water with Dazzle™ Prep Cleanse once the pump and filter are in operation. If your pump is not in operation, pour Dazzle™ Algae Resist 50 or Algae Clear 60 into your pool water to prevent algae growth.
- If you have a salt pool, use Pristiva™ Salt Pool Opening Kit and reference the instructions included.
Once your system has run continuously for 24 hours, collect 8 ounces of water from below the surface of your pool and bring it to us in-store for a free water test! If you have any questions about opening your pool, or you would like some assistance, reach out to our team!

